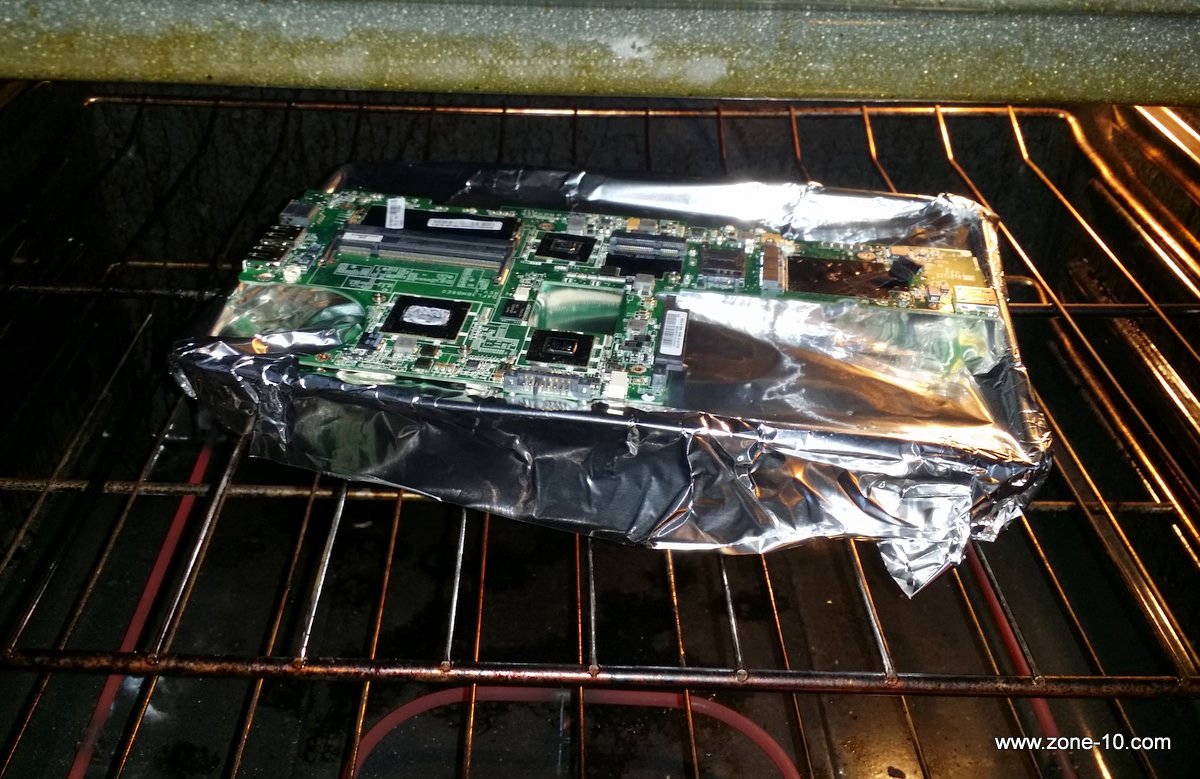
One challenge we darkroom rats have is shutting the safelights off and shutting the door to the darkroom without spending 15 minutes in cleanup mode. Cleanup mode always involves putting chemistry back in the bottles and washing trays. Unfortunately, this means that every darkroom session begins with 15 minutes of setup and ends with 15 minutes of cleanup. When you will return to the darkroom within two days an alternative is to leave the trays setup but covered.
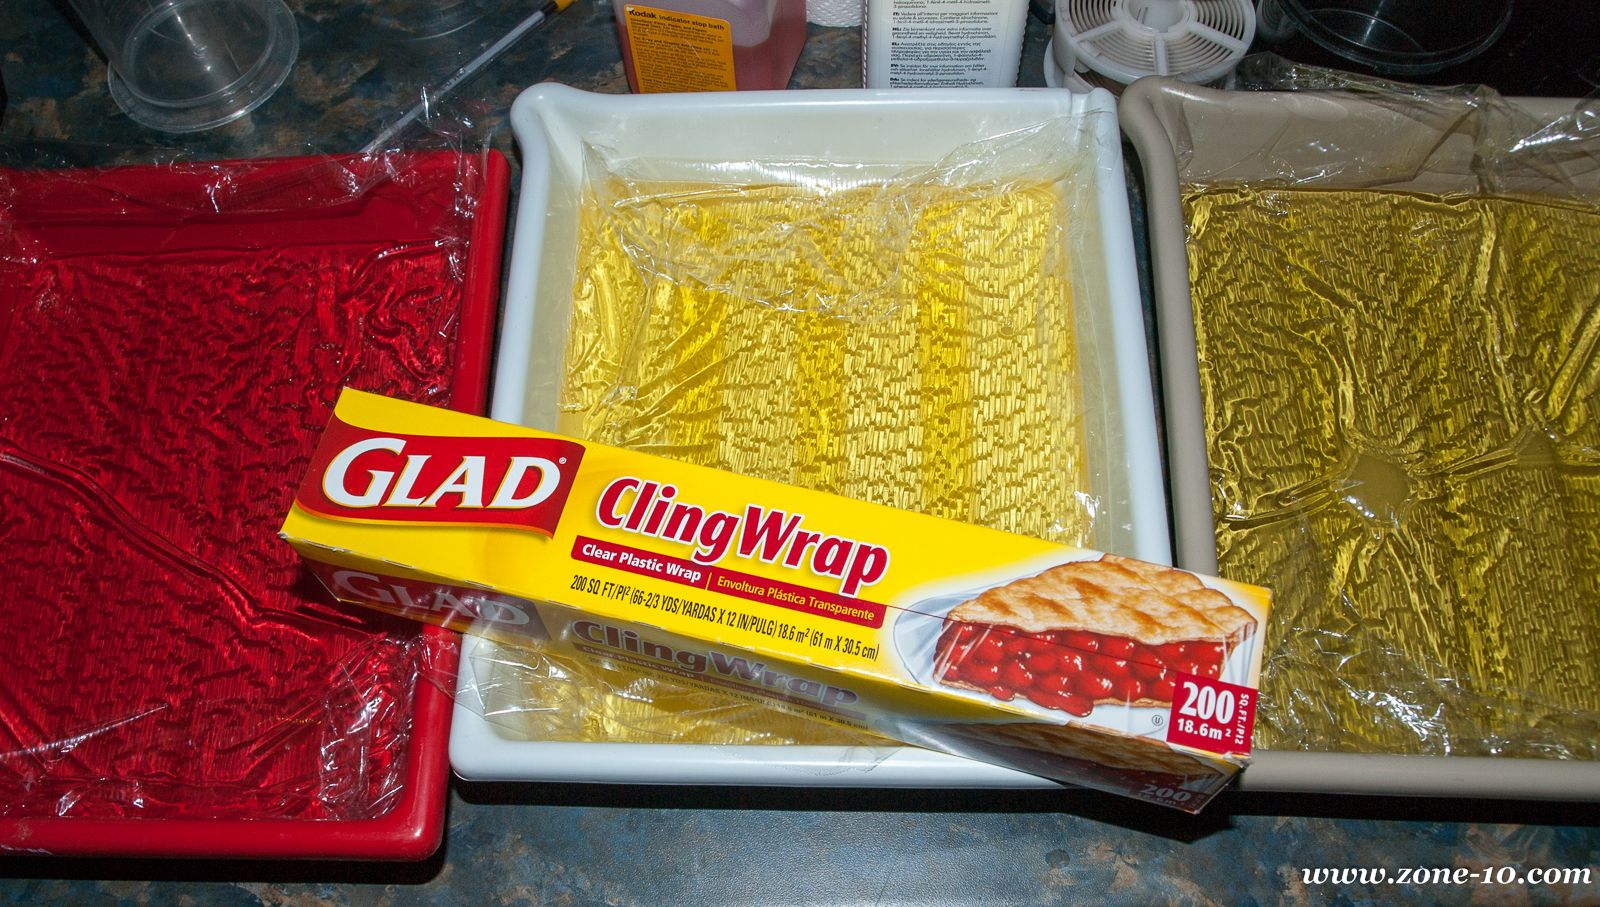
The solution is to cover the chemicals with "Saran Wrap" or equivalent static-cling food wrapping plastic. Just place a strip of the plastic over the tray and press it down to the surface of the chemistry. Push the bubbles off to the side to eliminate as much air contact with the chemistry as possible. You don't have to get too extreme about it, but reducing air contact will help preserve the chemistry longer.
When beginning the next darkroom session carefully remove the plastic and dispose of it. Be aware that any chemistry that has gotten on top of the plastic will have oxidized and needs to be kept from mixing back into the chemical tray.
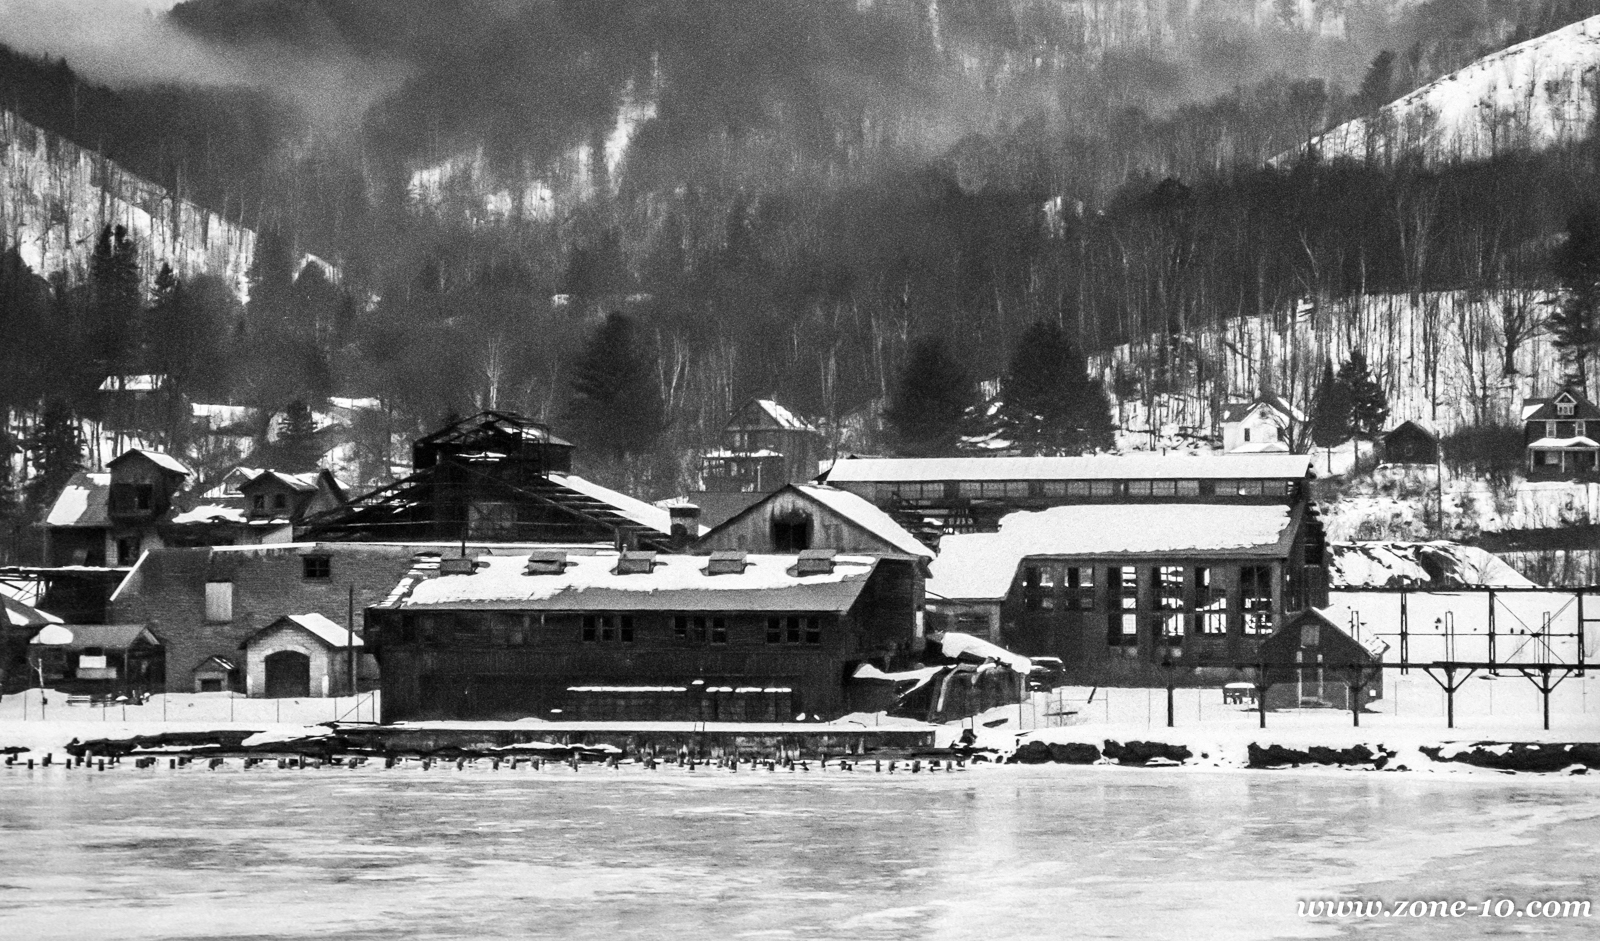
The Quincy Mining Company Stamp Mill is located along the Portage Canal in Hancock, Michigan. This photograph was taken from across the Canal on the Houghton side. Camera used is an Olympus OM-4T. Lens not recorded, but most likely is the Zuiko 50mm F1.4 lens. Image scanned from the Ilford Delta 400 negative (processed in Ilfotec DD-X) in the Nikon Coolscan V-ED and edited in Lightroom. The image is heavily cropped (about 50% of original full frame image).
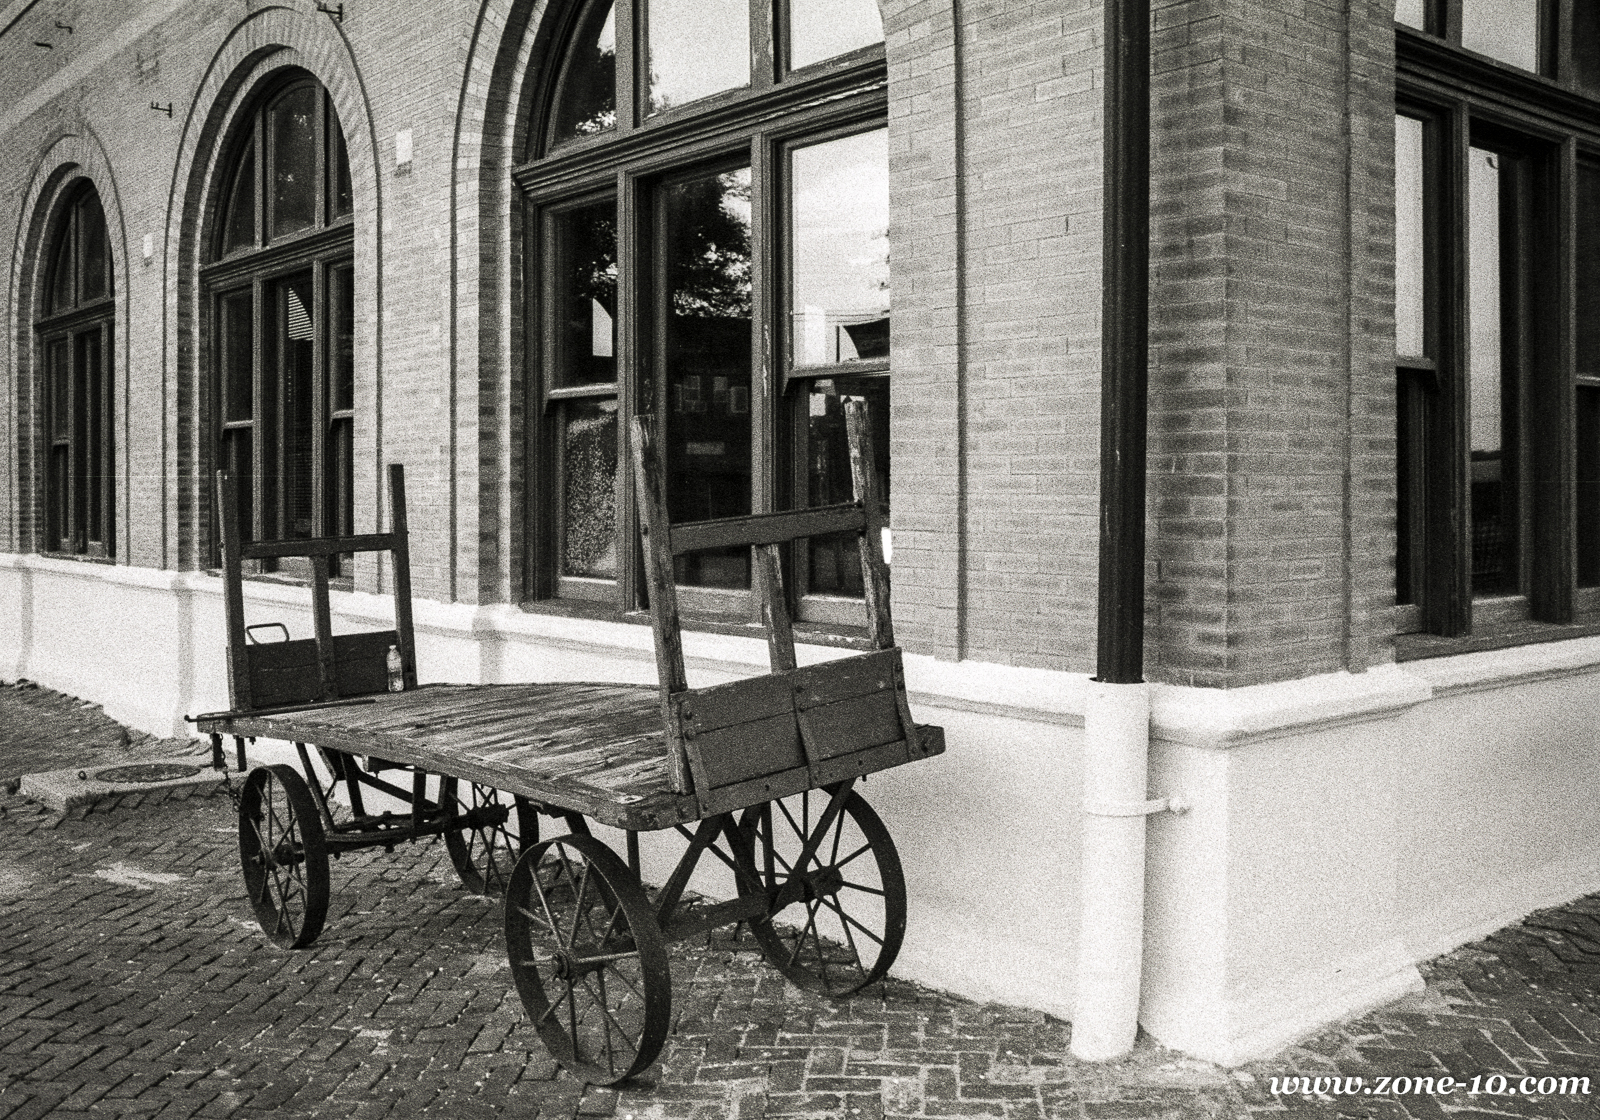
Creston Train Station / City Hall. Creston, IA. Photograph taken with an Olympus OM-3Ti, Zuiko 28mm F2 lens and Ilford HP5+ film. Processed DD-X. Scanned with the Nikon Coolscan V-ED. Processed in Lightroom CC. This image is about a 50% crop of the full 35mm frame.
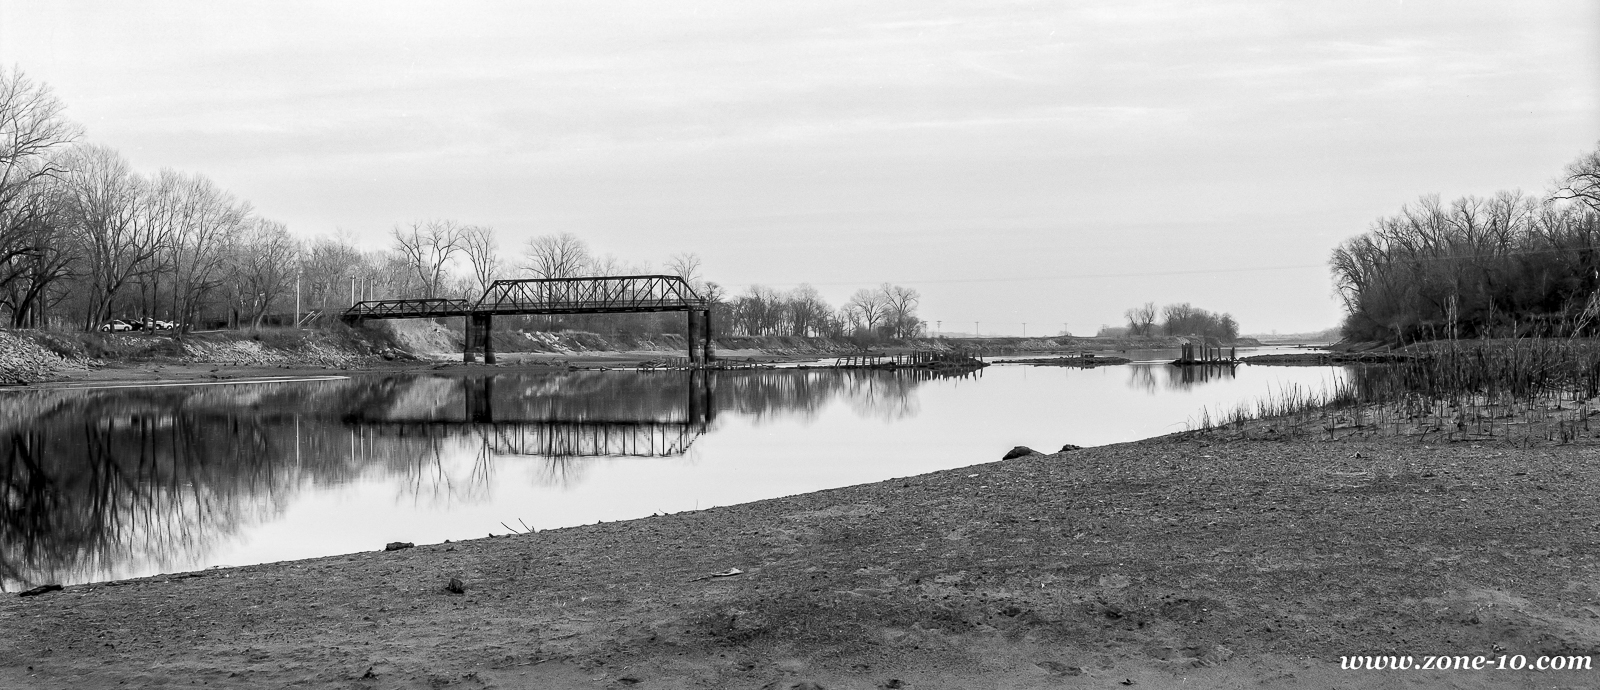
Broken Bridge - Des Moines River, near Pella, Iowa. This photograph was taken with a 1964 Crown Graphic on Ilford Delta 100 4x5 sheet film. Processed in Ilfotec DD-X.
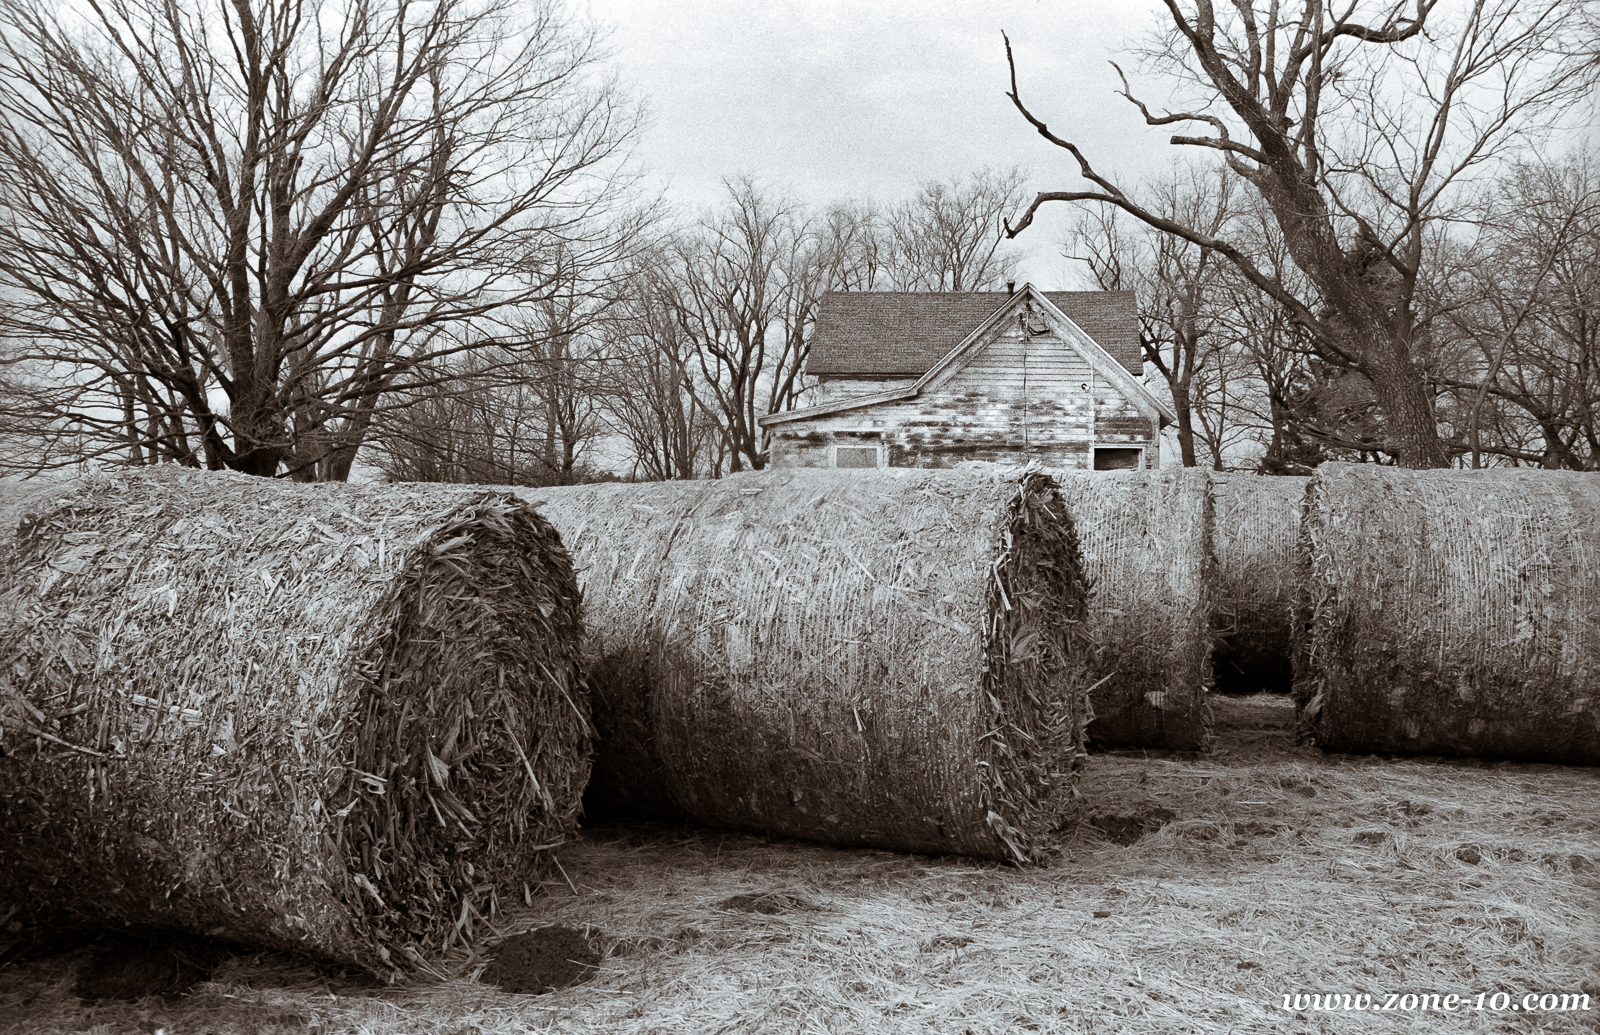
North of Creston, Iowa, there is an old abandoned farm house surrounded by bales. This photograph was taken with the Olympus OM-3Ti with the OM Zuiko 28/2.0 lens on Kodak PlusX film. This image was scanned from the negative in a Nikon Coolscan V-ED scanner and processed in Lightroom.
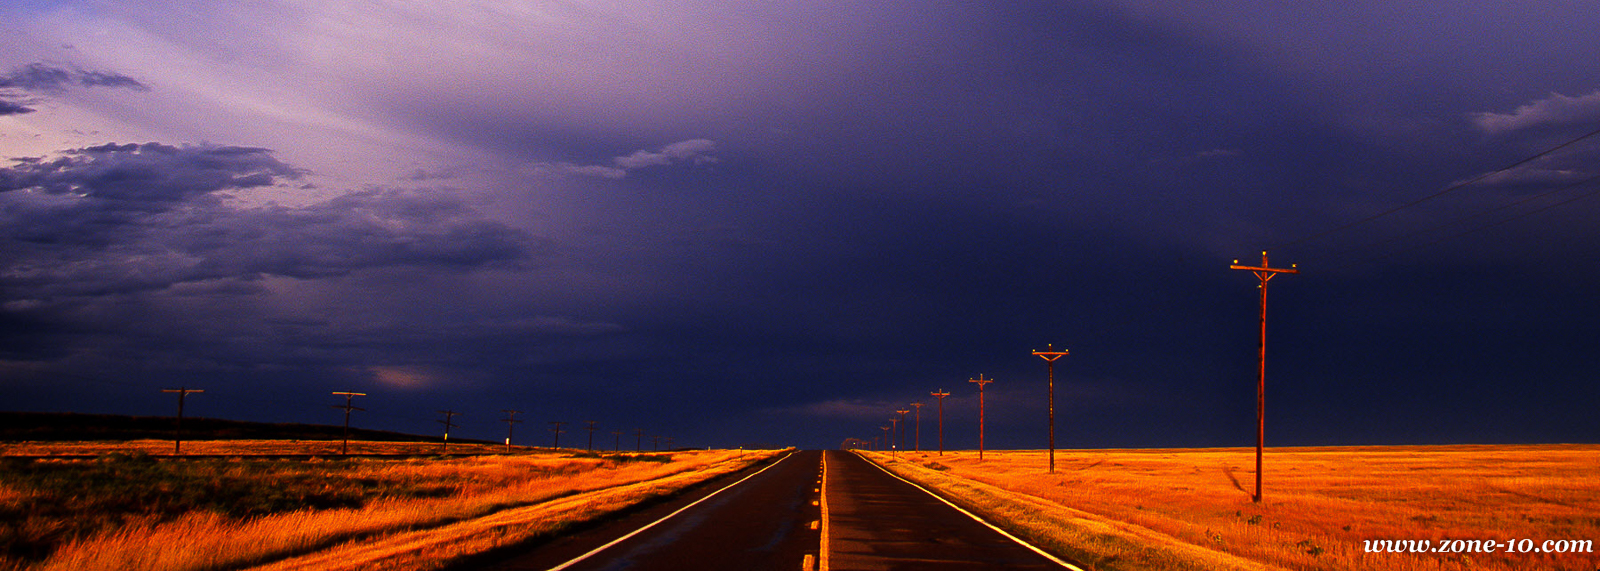
This photo was taken with the OM-4 and the OM Zuiko 600/6.5 Super-Telephoto lens on Fujichrome film. The lens is very sharp if you can control the vibration, but it is a bear to do so. On a digital camera, it is a very useful lens, on film cameras, not so much. Highly recommended if you can find one, but remember that with a maximum aperture of F6.5, you will want a live-view camera. For use with the OM system, an OM-2S would be the recommended camera as the aperture pre-fire on that camera reduces the camera shock. Camera-subject distance is approximately 1/2 mile.
I've been in hog-heaven shooting Fujichromes again, but I discovered an old curse that has reared its ugly head again.
The Gotcha of the Great!
A good 'chrome, such as Velvia or Kodachrome is expensive to shoot. The per-shot cost is very high, and when combined with larger-formats, is difficult to justify. This was true before, and it's even more true today in the world overrun by digital.
This is only one side of the equation, though. The reason to shoot Velvia or other high-quality 'chrome is for the quality of the images it results in. You know, for example, how well Velvia enhances colors during the "golden hours"--it takes what is beautiful and extends it into another dimension.
But this comes at a price--not just monetory, but psychological. You end up not shooting pictures because you are constantly asking yourself: "Is this Velvia-worthy?" Because of this questioning, you end up NOT taking the picture because you know in your heart that the picture just isn't good enough to commit to a film of this quality. As a result, you miss many photographic opportunities through this "pre-edit" process.
A massive advantage of digital over great film is that you are more likely to take pictures of things that you'd never commit a frame of expensive film to. Granted, the majority of these pictures are "tossers", but once in a while one of these "also-ran" photographs is a winner.
The key to survival in the film world is to be willing to waste photographs on experimental or secondary pictures. If you can't get beyond the "Gotcha of the Great", then it may pay to have a second camera loaded with low-cost film or even a digital camera. Save the expensive film for the "I'm making a statement with this photograph". This way, by using dual cameras you won't miss out on the low hanging fruit while you reach for the highest apple.
UV "protection" filters are not too unlike putting plastic runners over your carpet or slip-covers over your furniture. In theory they "protect" against something, but who or what are you saving it for?
The sunspot flare that you are experiencing is highly likely being exasperated by the filters. One of the easiest tricks in the book for improving your photography is usually just removing the "protective filter" and keeping the glass clean.
Nowadays, we have the iPhone, iPod Touch and iPad. You can buy these "protective" films (as advertised on this very site) to go over the glass. Again, why? Why put up with the additional surface to look through, the ugly look, the reduced effectiveness and accuracy of the touch-screen? To protect it from SCRATCHES? It's awefully hard to scratch this new glass used in these devices. If you are going to scratch it, chances are you're going to break it first.
But we do these things to "preserve value". Ooooooooookay. Again, for what/whom are you doing that? Unless trashed, most used lenses are pretty much about the same price regardless of whether you used a protective filter on it or not. As to cell-phones and other consumer electronics, they have no value, used, anyway. The moment a new model comes out, your existing one is nearly worthless.
UV "protective" filters serve a purpose if:
1. You're photographing around water,
2. You're photographing an industrial site with abrasive and oily materials in the air,
3. You can't help yourself from sticking your fingers on the glass all the time,
4. You smoke and the haze builds up on your equipment,
5. You're photogaphing at high-altitude and need a UV filter,
6. You don't use lens caps,
7. You photograph motorsports from the fence opening on the outside of a turn.
I'm sure there are random other examples, but you get the idea.
Think about it this way--the average non-professional hobbiest photographer keeps his camera safely tucked away inside a camera bag until a picture reveals itself. Only then does he/her remove camera from bag, remove lens-cap from lens, shoot picture and then put lens-cap back on the lens and the camera back in the bag. It is not unusual at all for a five-year old lens to have been exposed to the air for less than two hours total. Personally, I can get two hours of air-time on my lenses before breakfast!
Another thing about UV filters which most people don't realize. Due to the disparate materials and the plastics used in the filters and lenses, it is very common for the filter to become statically charged which attracts dust, oils and other gookies in the air directly to the filter. It never ceases to amaze me how quickly my filters become hazy. (I use filters for B&W photography and polarizers). The bare lenses rarely become hazy, but the filters will get so with only an hour of exposure.
In digital signal processing, anti-aliasing is a key approach to reducing distorting artifacts, which are known by the term ‘aliasing’ when dealing with high resolution signals received by a lower resolution imager (sensor).
In digital photography, aliasing artefacts appear in several forms. Chiefly they are most visible as wavy noise or moiré patterns, strobing or as sparkle-type spots.
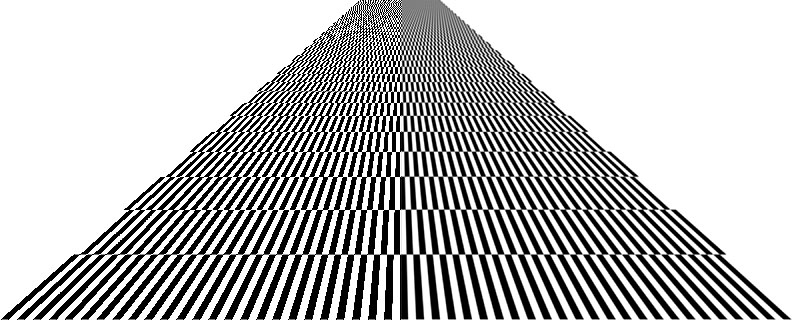
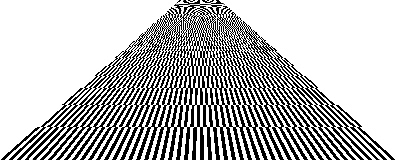
Anti-aliasing therefore refers to the removal of higher frequencies that the sensor cannot properly resolve during live capture. In other words when the sampling is performed, undesirable artifacts can occur if they are not removed beforehand, causing visible noise in the image. The below illustration is a receding checkerboard pattern showing what happens when no anti-aliasing filter is in place.
It clearly shows the visible distortion occurring when anti-aliasing is not deployed. As the checkerboard pattern converges into the vanishing point, the image becomes too difficult to resolve for the sensor.
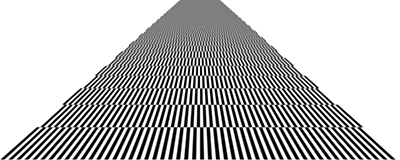
In contrast, Figure 2, which is anti-aliased, fares considerably better where the same area now blends into greyness. This is what the anti-aliasing filter does when the resolution is incapable of displaying details clearly. Furthermore, towards to the bottom of the image, the edges of the lines are smoother.
Digital cameras usually resolve this problem with the use of an analog anti-aliasing filter (aka Low Pass Filter, LPF, AA or blur filter) in order to remove the out-of-band component of the input image signal prior to sampling with an A/D converter. These filters are optical in nature and are integral in the sensor to block invisible light. They are often made from the use of two layers of birefringent materials such as lithium niobate (LiNbO3), which spreads each optical point into a cluster of four points.
(Note: ‘Birefringent’ means ‘double refraction.’ Therefore a birefringent material is able to decompose light into two separate rays – one ordinary and the other extraordinary. Cellophane is a cheap example.)
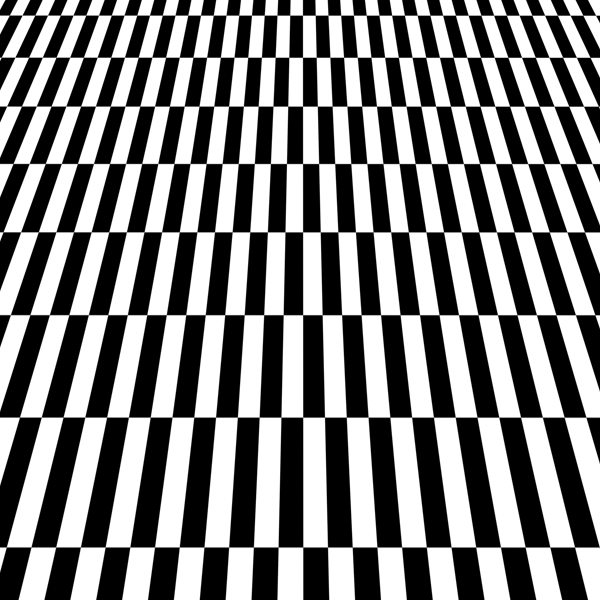
Figure 3 shows a portion of the original image with no filtering applied. When resized or photographed with a digital camera, these converging lines will alias, causing artifacts.
Figure 4 is of the same section of the image with an anti-aliasing filter applied to the image.
Because of this spread, the shortcoming of an anti-aliasing filter is that it curtails part of the image sharpness as well as fill factor and that is part and parcel of its effort in reducing the resolution to a level that the sensor can accept. This loss of image sharpness is able to be somewhat corrected with a sharpening filter to counteract the loss of apparent resolution.
A central part of understanding anti-aliasing is that in signal processing, downsampling (aka sub-sampling) is an integral part of the effort to reduce the sampling rate to make it more acceptable for the imaging sensor to cope. As this is normally done, the data rate or the size of the image data is affected and because of this, it is important to ensure that the criterion proposed by the Shannon-Nyquist Sampling Theorem is maintained. Otherwise the resulting digital signal will be aliased.
Medicine Bow Peak is located about 35 miles west of Laramie, Wyoming. This photograph was taken just east of the peak at Snowy Range Pass.
This is a 14 image photomerge from a Panasonic DMC-L1 camera using an Olympus DZ 14-42 lens at 14mm, F7.1 and 1/500. Image processed in Adobe Lightroom and Photoshop CC.